
With more than 10 million daily active users, Slack changed the way people work: 600,000 organizations use Slack as part of their daily workflow, and chances are you do as well.
At Napkin, we use Slack every day to work and bond remotely. As a young startup, we were naturally led to use Slack’s extensive app catalog of +4000 slackbots. As developers, we eventually figured out how to create a slack bot of our own. In this slack bot tutorial, we teach you how to do it yourself in just a few minutes―but not alone!
Why You Should Make A Slack Bot
A Slack bot allows you to do more by leveraging Slack’s application programming interface instead of the regular graphical user interface. Slack offers +100 API methods to do anything from analytics to sending or reading a message―the sky's the limit.
During work hours, Slack is an app the majority of users run in the background―replacing meetings and emails to a great extent. Building a slackbot takes you a step further by automating tasks in your Slack workspace. You could build a report app to access all your messages on a given day and compute some usage statistics to measure the level of activity in your organization, for example.
Last but not least, developing a Slack bot opens the possibility to integrate third-party tools & processes into your Slack workspace that don’t already have a Slack app―making it the perfect place to centralize all your tools in a single cohesive whole. Unlike bots on regular messaging apps like Telegram, slackbots can span all your channels across your entire organization in one shot.
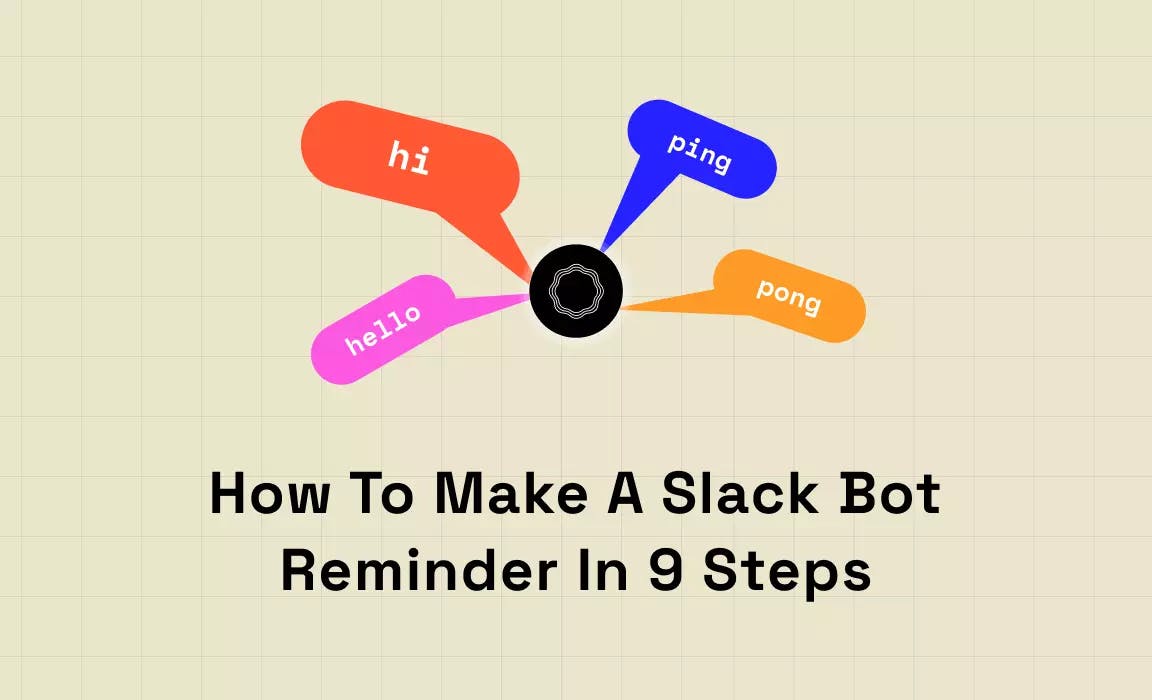
How To Make A Slack Bot Reminder In 9 Steps
For the sake of simplicity, we're going to build a bot in Python that reminds you to drink water every hour―a Slackbot reminder! It’s a simple yet powerful example because it will walk you through the whole process of coding a slackbot in only 9 steps (~15 minutes tops).
1. Create a Slack app
First, you need to register a new Slackbot app.
Head to your Slack workspace and navigate to Settings > Settings & administration > Manage apps. Then, click on Build in the navigation bar. You can also go directly to https://api.slack.com/apps/.
Press the “Create an App” button.

2. Configure your Slackbot
We start the app from scratch with the name “Hourly Reminder” and a workspace created for the occasion:

In the left sidebar, configure your app’s permissions by clicking on OAuth & Permissions.
Then go to Scopes and check the scope chat:write. Scopes limit what your bot can do and which API features your bot can use. It’s a security mechanism. The Slack API proposes dozens of scopes, but for this example we only need to send messages to a public chat―hence the scope chat:write.
You need to generate an authentication token to interact with the Slack API. Create a new bot oauth token and copy it for later.
Next, click on “Install to workspace”. The slackbot Hourly Reminder is now available in your workspace:

You need to add the bot to a channel to use it. Let’s use the “general” channel for example. In your Slack workspace, click on the channel and go to Channel Settings > Integrations > Apps > Add apps. Select your Slack bot and you’re good to go:

3. Test Your Slack API Endpoint
All it takes to interact with the Slack API is an HTTP request to the public API endpoint. Let’s try to post a message in the general channel with a simple curl command from your computer terminal:
curl \-X POST \-H "Content-Type: application/json" \-H "Authorization: Bearer <Your Slack Token>" \-d '{"channel":"general", "text":"test"}' \https://slack.com/api/chat.postMessage
The curl command sends a HTTP POST request containing JSON data to the endpoint chat.postMessage, as specified in the official documentation. The authentication token is defined in an Authorization header. You can log into your workspace and check the message you've sent:

Now of course, you want to automate the sending part with a web server and a program written in Python.
4. Set up your Python web server
Creating a custom bot implies hosting the programming logic in a web server. Slack only offers an API and cannot host code for you, but you still need to tell your bot what needs to be done.
To make things much simpler, we are going to use Napkin’s serverless platform to build and deploy our code without having to configure a web server ourselves, in less than a minute and for free.
Create an account, add a new project by clicking “New Function”, pick Python as your runtime language, choose a name, and you’re ready to code:

For this demo, we will only need a single Python module to perform HTTP requests. We choose requests as our HTTP library.
To add a module to your dev environment you simply click on the Modules tab, search the module “requests”, and click the Download icon:

5. Send custom responses to Slack
Let’s write some code now. First, you want to be able to send a message to the Slack API in the form of a HTTP request, using the requests library we just installed.
As you saw in step 3, we need 3 variables―a bot token, the API endpoint, and a message to send:
slackbot_token = "<Your Slackbot Token>"url = 'https://slack.com/api/chat.postMessage'message = "sent from Napkin"
And then you combine all these elements in a HTTP POST request:
import requests
slackbot_token = "<Your Slackbot Token>"url = 'https://slack.com/api/chat.postMessage'message = "sent from Napkin"
requests.post(    url,    headers={        "Content-Type":"application/json",        "Authorization": "Bearer " + slackbot_token    },    json={        "channel": "general",        "text": message    })
The authentication token needs to be sent in an Authorization header, and we add a “Content-type” header to tell Slack the HTTP request contains JSON data. According to the Slack API documentation, you need two JSON fields: a channel defined by a name or an identification number, and a text.
With your current app scopes, the slackbot needs to be added to the channel to be able to send a message. Fortunately, you already added Hourly Reminder to the general channel in step 2.
You can test the function in Napkin by clicking the Run button in the top right corner of the screen. You obtain the same result:

6. Write the business logic
A reminder message should be sent every hour, so let’s make sure our bot works as expected by displaying the time of the day along with the message “Remember to drink water”.
First, import Python's “datetime” library to get the current date and time:
from datetime import datetime
now = datetime.now().strftime("%d/%m/%Y %H:%M:%S")
message = "It's " + now + ", remember to drink water."
The now variable is simply the current datetime in a string data type following the format Day/Month/Year Hour:Minute:Second. The final message is a concatenated text containing the now variable.
And we obtain:

Except for a timezone difference between Slack and our server, all is well. You can fix that by using Slack’s users.info API endpoint, which contains info regarding the user’s timezone, but this is out of the scope of this article.
7. Set environment variables
To make the code cleaner, you can define your Slack bot token as a secure environment variable. Hard-coding your bot’s authentication token is bad practice as anyone reading it can send messages in your stead, so you should hide this sensitive information in a secret stored in an environment variable.
Switch to the Others tab, find the Environment Variables section, and add one:

This is the final code with the token referred as an environment variable:
import os
slackbot_token = os.getenv("SLACKBOT_TOKEN")
message = "It's " + now + ", remember to drink water SECURELY."
An environment variable is accessed using the getenv method from the “os” library.
The corresponding result message:

8. Send a reminder every hour
For the initial objective to be considered completed, you still need to have the Cloud function triggered once every hour.
With a traditional web server configuration, you’d need to set up a cron job to run your code every hour, but Napkin's Schedule feature makes it much simpler―just go to the online code editor and click the Schedule button:

What do we get?

As expected, the function runs at each new hour.
9. Protecting your endpoint
Last but not least, you want to protect your server endpoint to avoid malicious people from running your Cloud functions behind your back. Anyone with the URL of your Cloud function can use it, but you can use Napkin's simple API authentication system to prevent that.
Just go to the Other tab and toggle the API Authentication feature:

Now, visiting the URL of your Cloud function results in an error if you do not add your API key to the header of each HTTP request, so no untrusted request will be able to run your Cloud function without your knowledge:
curl <your cloud function URL endpoint>$ {"message": "Unauthorized"}
Use Napkin To Create A Slack Bot
That’s it, you know how to build a slack bot! This slack bot tutorial may look simple, but it’s all you need to get started. You can use Napkin to add more features to your bot, and the best part―it’s free even with unlimited functions!
If you prefer using Discord over Slack, check out our code our code example on how to build a Discord bot.